SSO: Setting up GSuite
In this support article, we will walk you through the process of setting up Google Suite SSO for Planhat, ensuring a seamless experience for your users.
Important: Before starting to set up SSO with GSuite it is important that you have the correct administrator settings. You must be an admin in Planhat and have a Super Administrator Account in Google Workspaces.
There are two parts to setting up Google Suite, which we'll cover step-by-step:
Set up Google Suite SSO
Configure Planhat SSO settings
Test
Set Up Google Suite SSO
Follow the steps below to add Planhat as a custom app in GSuite
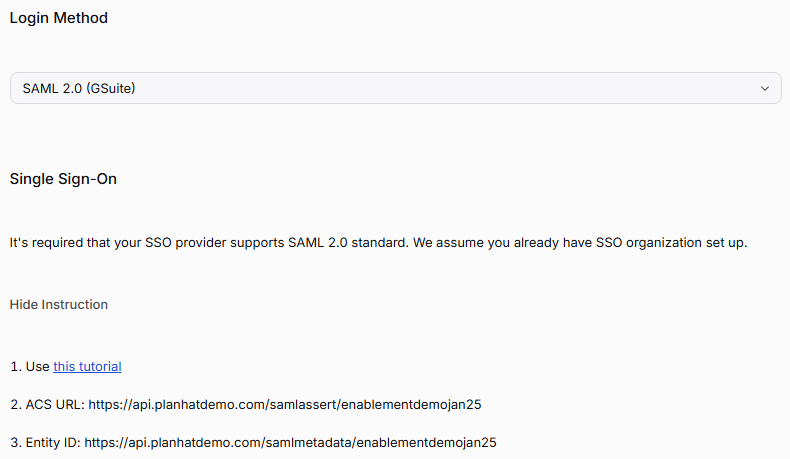
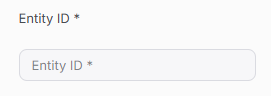
Configure Planhat SSO Settings
Test
Log out of Planhat (if you're currently logged in)
Open a new browser tab and navigate to your Planhat login page
Click on the "Sign in with SSO" button or a similar SSO login option
You should be redirected to the Google Suite login page
Enter your Google Suite credentials (if prompted)
Upon successful authentication, you should be redirected back to Planhat and logged in automatically
Note: This guide assumes that you have a valid subscription to both Google Suite and Planhat. The steps and options may vary slightly based on the specific versions or updates of these platforms. Always refer to the official documentation or contact the respective support teams for the most accurate and up-to-date instructions.