How to set up the SCIM integration in Microsoft Entra ID
Step-by-step guide on how to set up SCIM on the Entra ID side
Summary
The Planhat SCIM integration with Microsoft Entra ID enables automatic creation, updates, and deactivation of user accounts and roles in Planhat based on your Entra ID directory
Configure the integration by connecting Planhat’s SCIM URL and Bearer Token in the Azure portal, then assign users or groups
Who is this article for?
For Planhat administrators responsible for managing user provisioning and role access through Microsoft Entra ID
Series
This article is part of a series on SCIM:
How to set up the SCIM integration in Microsoft Entra ID ⬅️ You are here
📌 Important to note
This is part 2 of setting up the SCIM integration. Once the setup in Planhat is done, continue with these steps for setup in Entra ID.
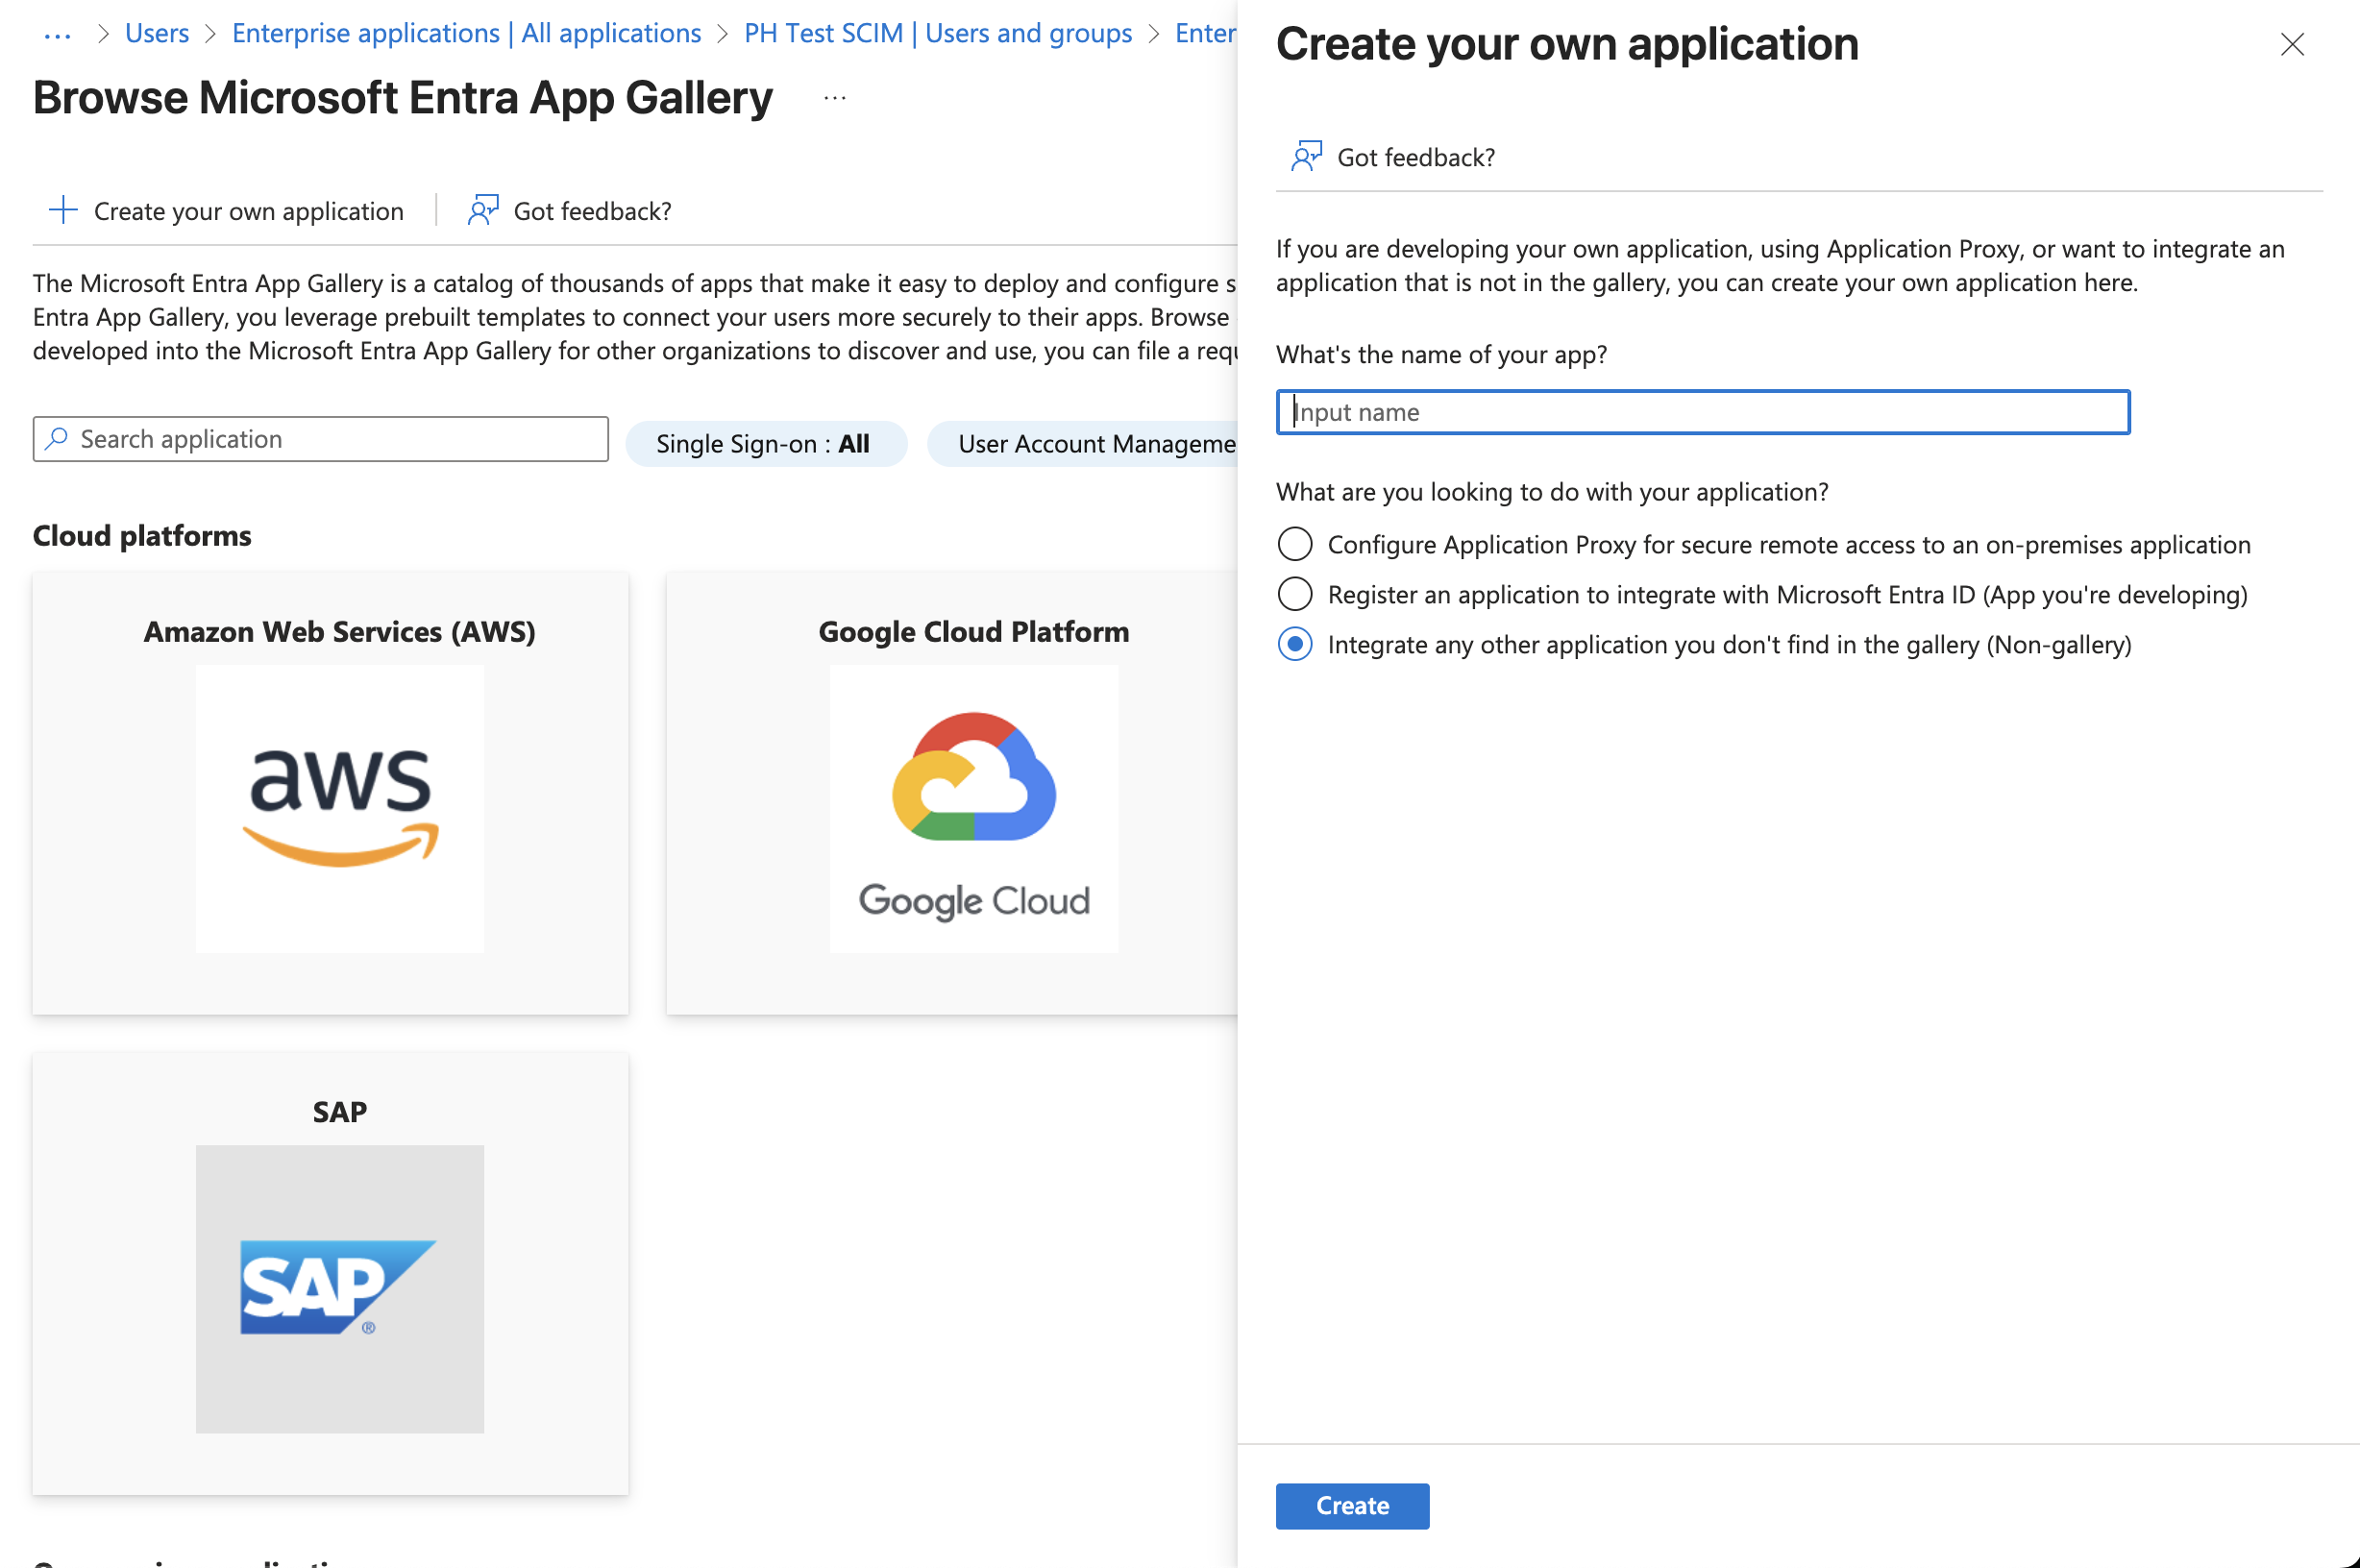
How to set it up
📌 Important to note
Planhat requires all users to specify the First and Last name, but Entra ID only requires the Display name. Make sure that First and Last names are specified for every user
Microsoft Entra ID checks for user updates around every 40 minutes, which means changes to access may take some time to reflect in Planhat
Supported SCIM attributes
The following SCIM attributes are supported:
userName
emails
externalId
name.givenName
name.familyName
displayName
active
How PATCH requests are handled
If PATCH contains at least one supported field: the request will succeed
If PATCH contains only unsupported fields: the request will return a 400