Data mapping in the Snowflake integration
Part 2 of the the setup steps for the Snowflake integration
Summary
The second stage of setting up the Snowflake integration is configuring data mapping
For CRM data, you choose which Planhat data model to map with which Snowflake table or view
You also select the sync direction (which can be bidirectional), specify the unique IDs on each side, and set up field mapping between Planhat fields and Snowflake columns
You save your settings, carry out a manual full sync, and enable the automatic hourly sync if desired
For time-series usage data, you choose whether you want to map each Snowflake table or view into Planhat to either User Activities or Custom Metrics in Planhat
You also specify the key (ID) in Snowflake, set up field mapping, and choose the batch size and sync frequency
Who is this article for?
Planhat users who are setting up the Snowflake integration (e.g. Tech/Ops)
Series
This article is part of a series on the Snowflake integration:
Setting up the Snowflake integration - an overview
Preparing Snowflake and connecting the integration - part 1 of the main instructions
Data mapping in the Snowflake integration - part 2 of the main instructions ⬅️ You are here
Article contents
Introduction


Now Snowflake and Planhat are connected, we're going to cover how you can configure it for your specific selection of data, and start syncing data between the two systems.
You can choose whether to sync CRM data and/or usage data in the Snowflake integration. This article is divided into these two main parts:
In summary, you will be creating and configuring sync sections, and the main principles for each sync section are:
Choose what data model/type in Planhat to map to what column in Snowflake
For CRM data, choose the sync direction
Specify the IDs/keys used in Planhat and Snowflake
Set up field mapping
For usage data, choose the sync frequency and batch size
1. CRM data in the Snowflake integration
The Snowflake integration has broad and flexible CRM syncing capabilities, and you can choose which Planhat data models to sync with Snowflake. Choose from the wide range of standard or custom models, from the main ones such as Company, End User and License, to more specialised models such as Campaign, Objective and Workspace.
You choose which Planhat models to map, and you can map as many or as few as you want.
Each sync section pairs a Planhat model with a Snowflake table (or view). You can create additional sync sections if you would like to map the same model or table/view again. You can map:
Standard models Company, End User, License, and other built-in Planhat objects.
Custom models any custom model you've built in Planhat, so you can sync Snowflake data directly into your own objects
Custom models are configured much like standard ones, with one difference: they don't come with Source ID or External ID. To match records, use a keyable — a unique ID field you define on the custom model yourself (the equivalent of Source ID / External ID on standard models). Create the keyable first, then you can select it as the ID.
The integration supports both Planhat standard and custom fields. Again, you choose which to map to your choice of Snowflake columns.
🚀 Tip
If you set up a sync section for the Conversation model, this includes "Logged Activities" and "Notes". The Snowflake integration doesn't support syncing emails.
How to set up CRM data mapping
Firstly, ensure you have followed all the steps in our article on preparing Snowflake and connecting the integration.
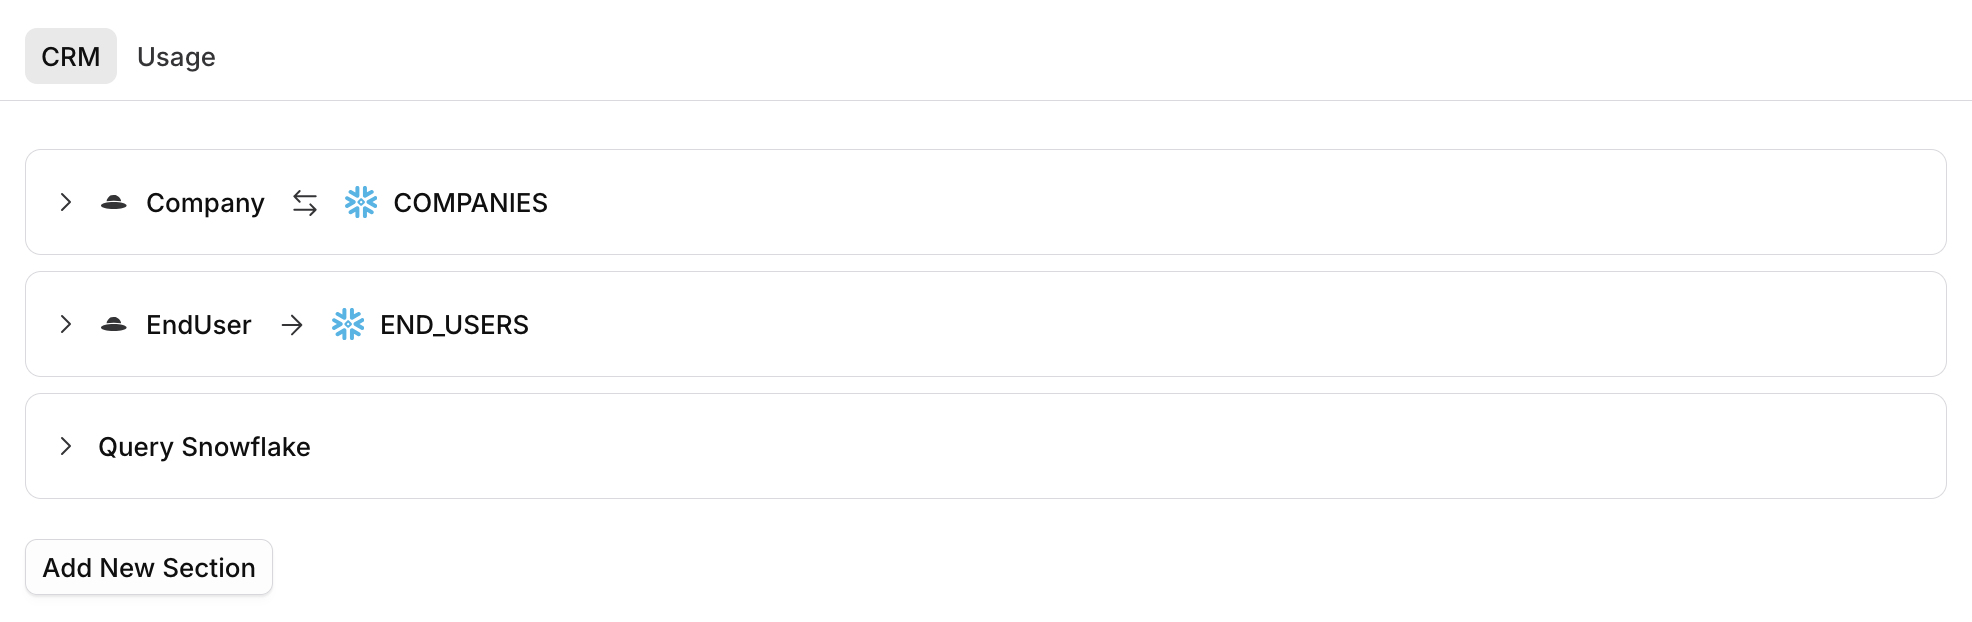
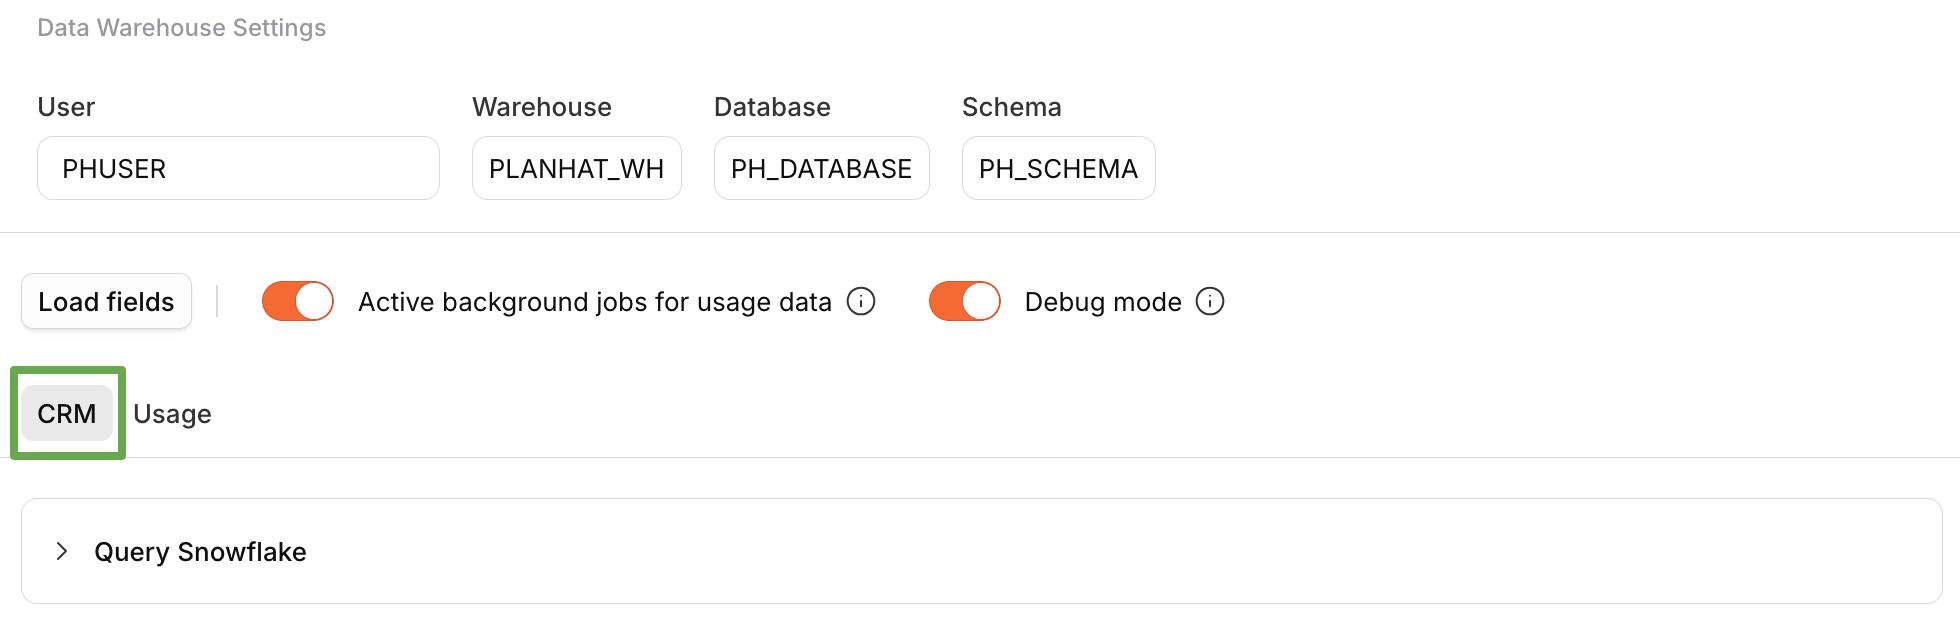
Before you begin data mapping, make sure that you have specified your user, warehouse, database and schema at the top of the integration. These need to be set before you can see the "Add New Section" button and start mapping your data.
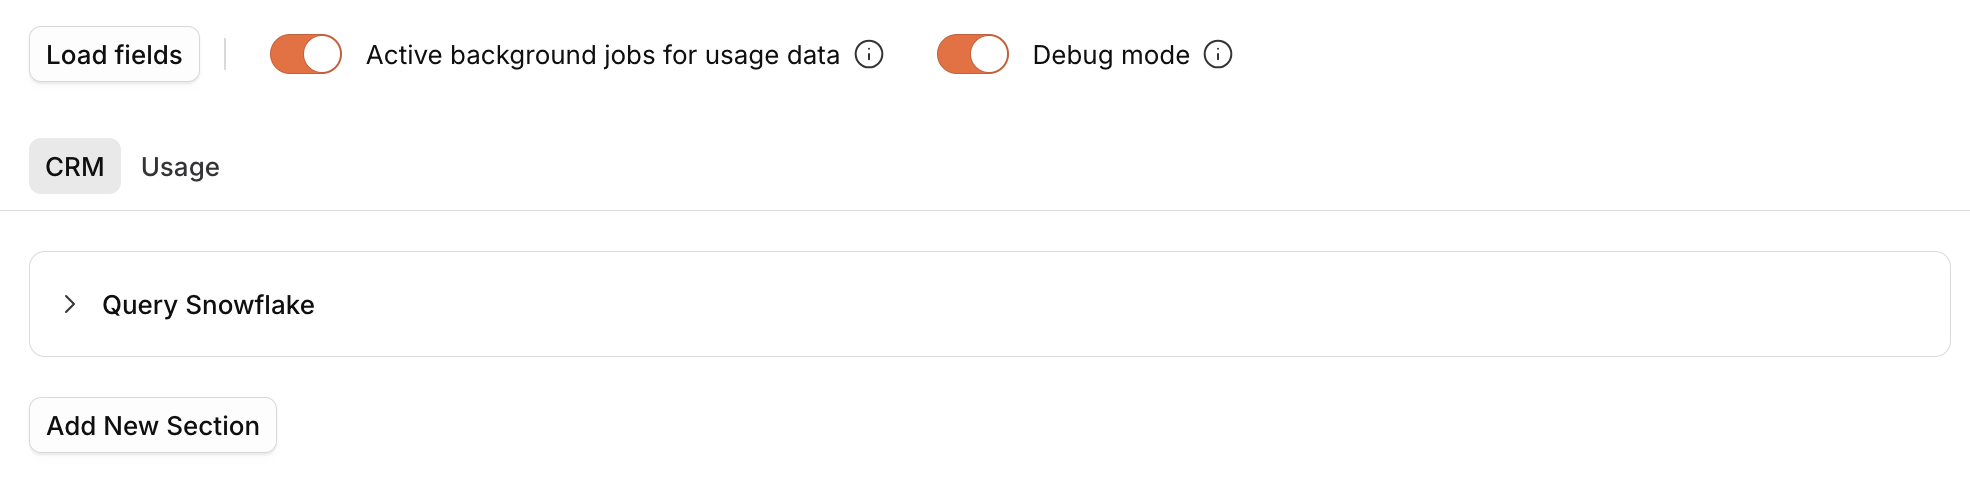
Also ensure the "CRM" tab is selected - this is the default tab when you first open the integration:
Click the "Add New Section" button in the bottom left to add a new sync section. Each sync section is for mapping one Planhat model to one Snowflake table or view; simply add another one when you want to map another model / table (or view) combination.
To setup each section:
Select the Planhat model on the left, and the Snowflake table/view you'd like to connect to it on the right
Choose the overall sync direction - this can be:
"Send to Provider" [Snowflake]
"Receive from Provider" [Snowflake]
"Both Directions"
"Not Syncing"
Select the unique IDs (keys) in Planhat and Snowflake
Specify the ID field on the Planhat side (e.g. External ID or Source ID)
Choose a suitable column on the Snowflake side - IDs must be unique and text
Custom models don't have Source ID or External ID. Instead, match on a keyable — a unique ID field you define on the model. Create the keyable on your custom model first; it then appears in the "Snowflake Id reference" dropdown by its field name, alongside any built-in IDs. The Snowflake side still needs a column that is unique and text.
Set up field mapping
Click "Save Section" at the bottom right of the section to save your configuration
Sync direction
The Snowflake integration is bidirectional for CRM data, meaning you can choose to push data to, and pull data from, each system.
You set the sync direction independently for each sync section (pair of Planhat data model plus Snowflake table/view), offering a great deal of flexibility.
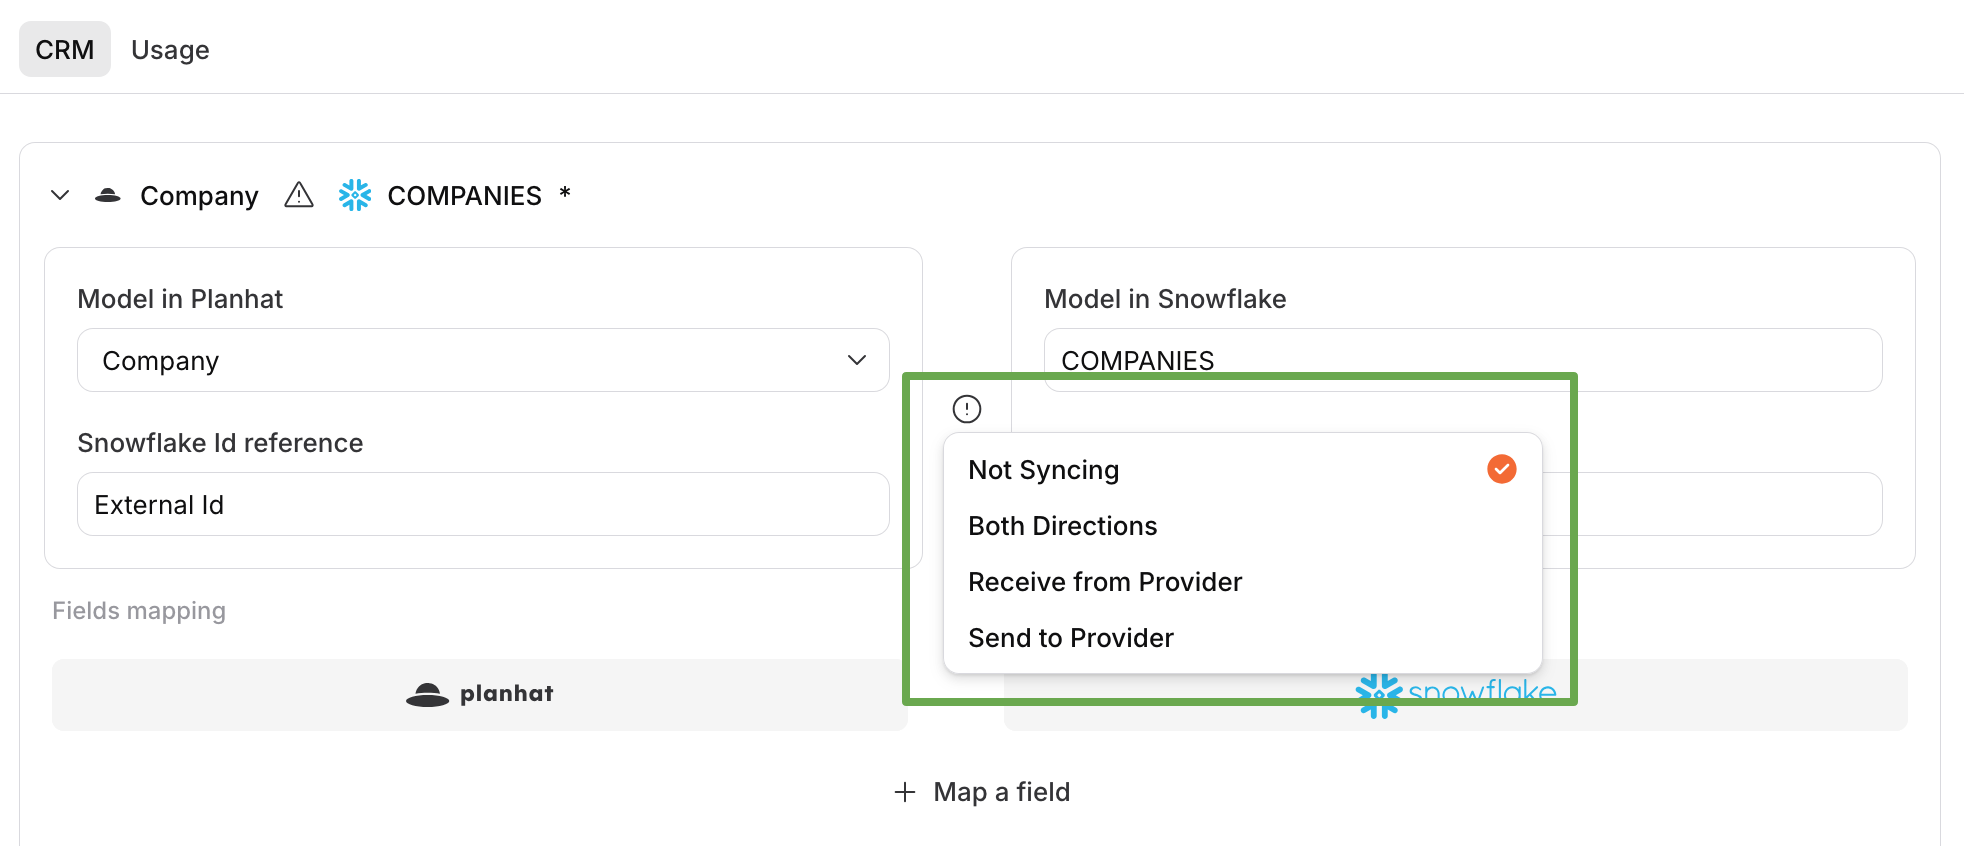
For each sync section, you can choose from "Send to Provider", "Receive from Provider", or "Both Directions" - or "Not Syncing" means no data will be synced.
It's possible to change the sync direction after your initial configuration - e.g. you could initially select "Receive from Provider" when you're setting up your Planhat tenant, and then change it to "Both Directions" later on.
For data security reasons, regardless of direction, the integration does not delete records (e.g. if you manually delete an End User in Planhat, the integration won't delete the corresponding data in Snowflake), but records can be created and updated.
📌 Important to note
If a section is set to "Both Directions", data will first be fetched from Snowflake, and then pushed from Planhat. This order of operations might explain any unexpected results. If you don't get the results you're looking for when you sync, reach out to your TAM or CSM.
📌 Important to note
Data cannot be synced from Planhat back to Snowflake views, as views are built on the fly in Snowflake.
Unique IDs
For each sync section, you will see boxes for IDs under the Planhat model and Snowflake table/view.
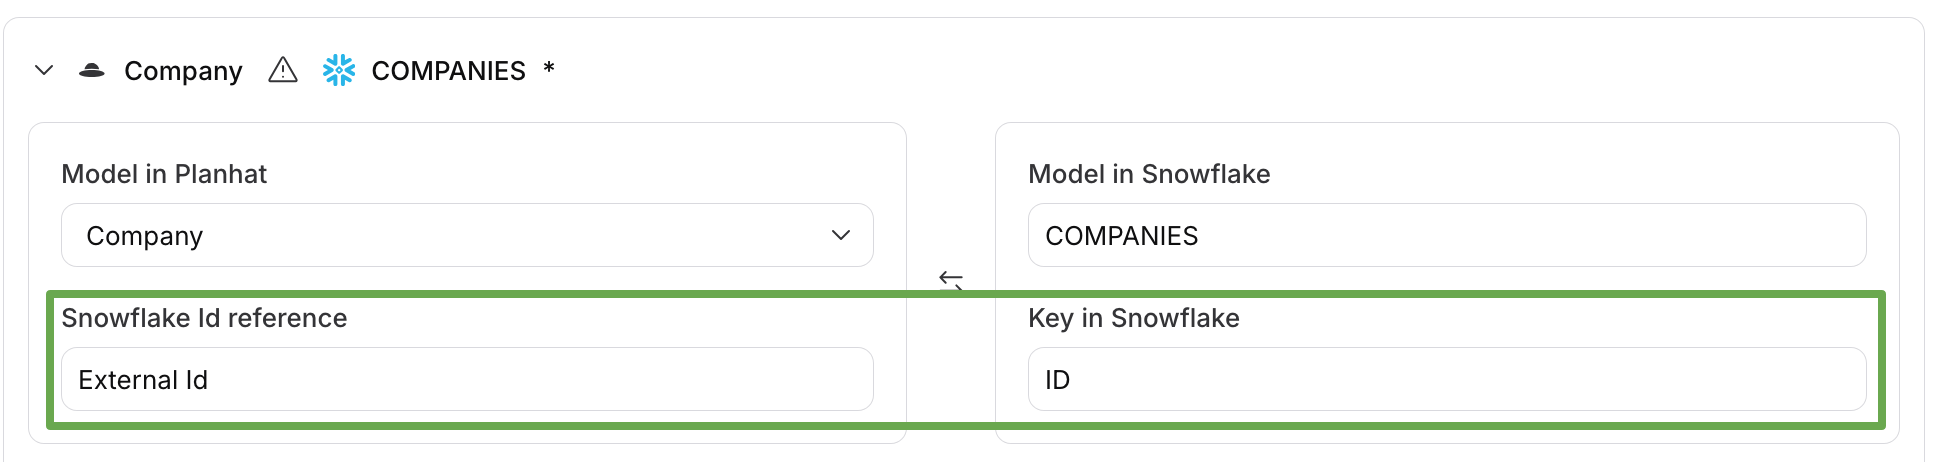
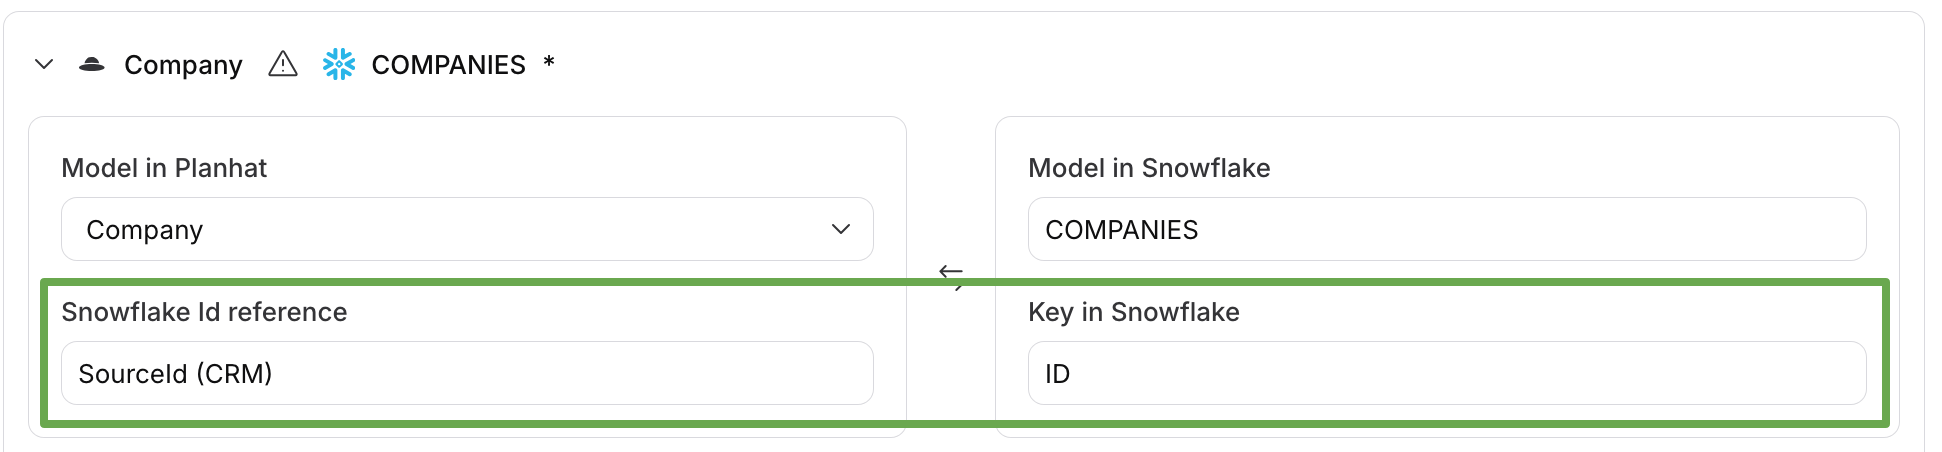
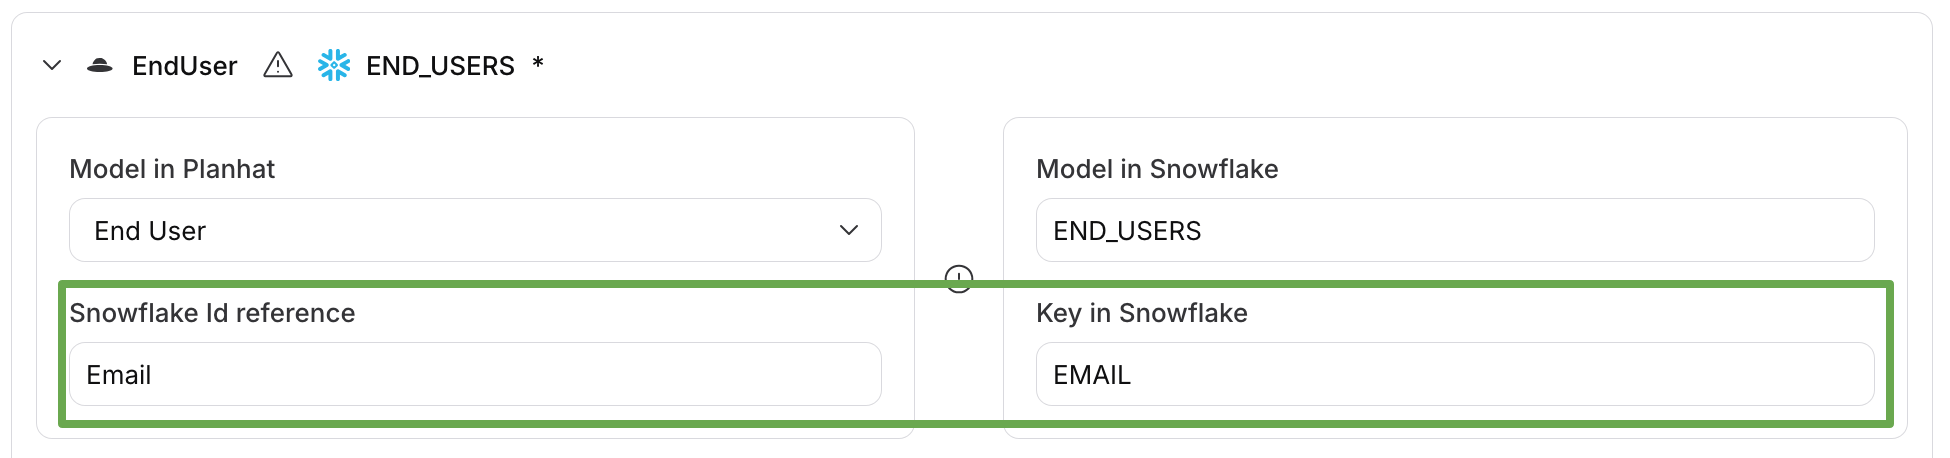
The ID on the Planhat side could be Source ID or External ID, or alternatively email address for End User (your customers) and User (your colleagues). These are all fields on the Planhat models, containing a unique ID to specify that particular record (e.g. the Company record for Apple). Note that "Id" in the dropdown box corresponds to the Planhat ID.
For the ID on the Snowflake side, select a suitable column from the dropdown menu. The ID/key must be unique and text. The name of the ID in Snowflake can be different, depending on your own system.
Here are a few examples of what this could look like in the integration:
Field mapping
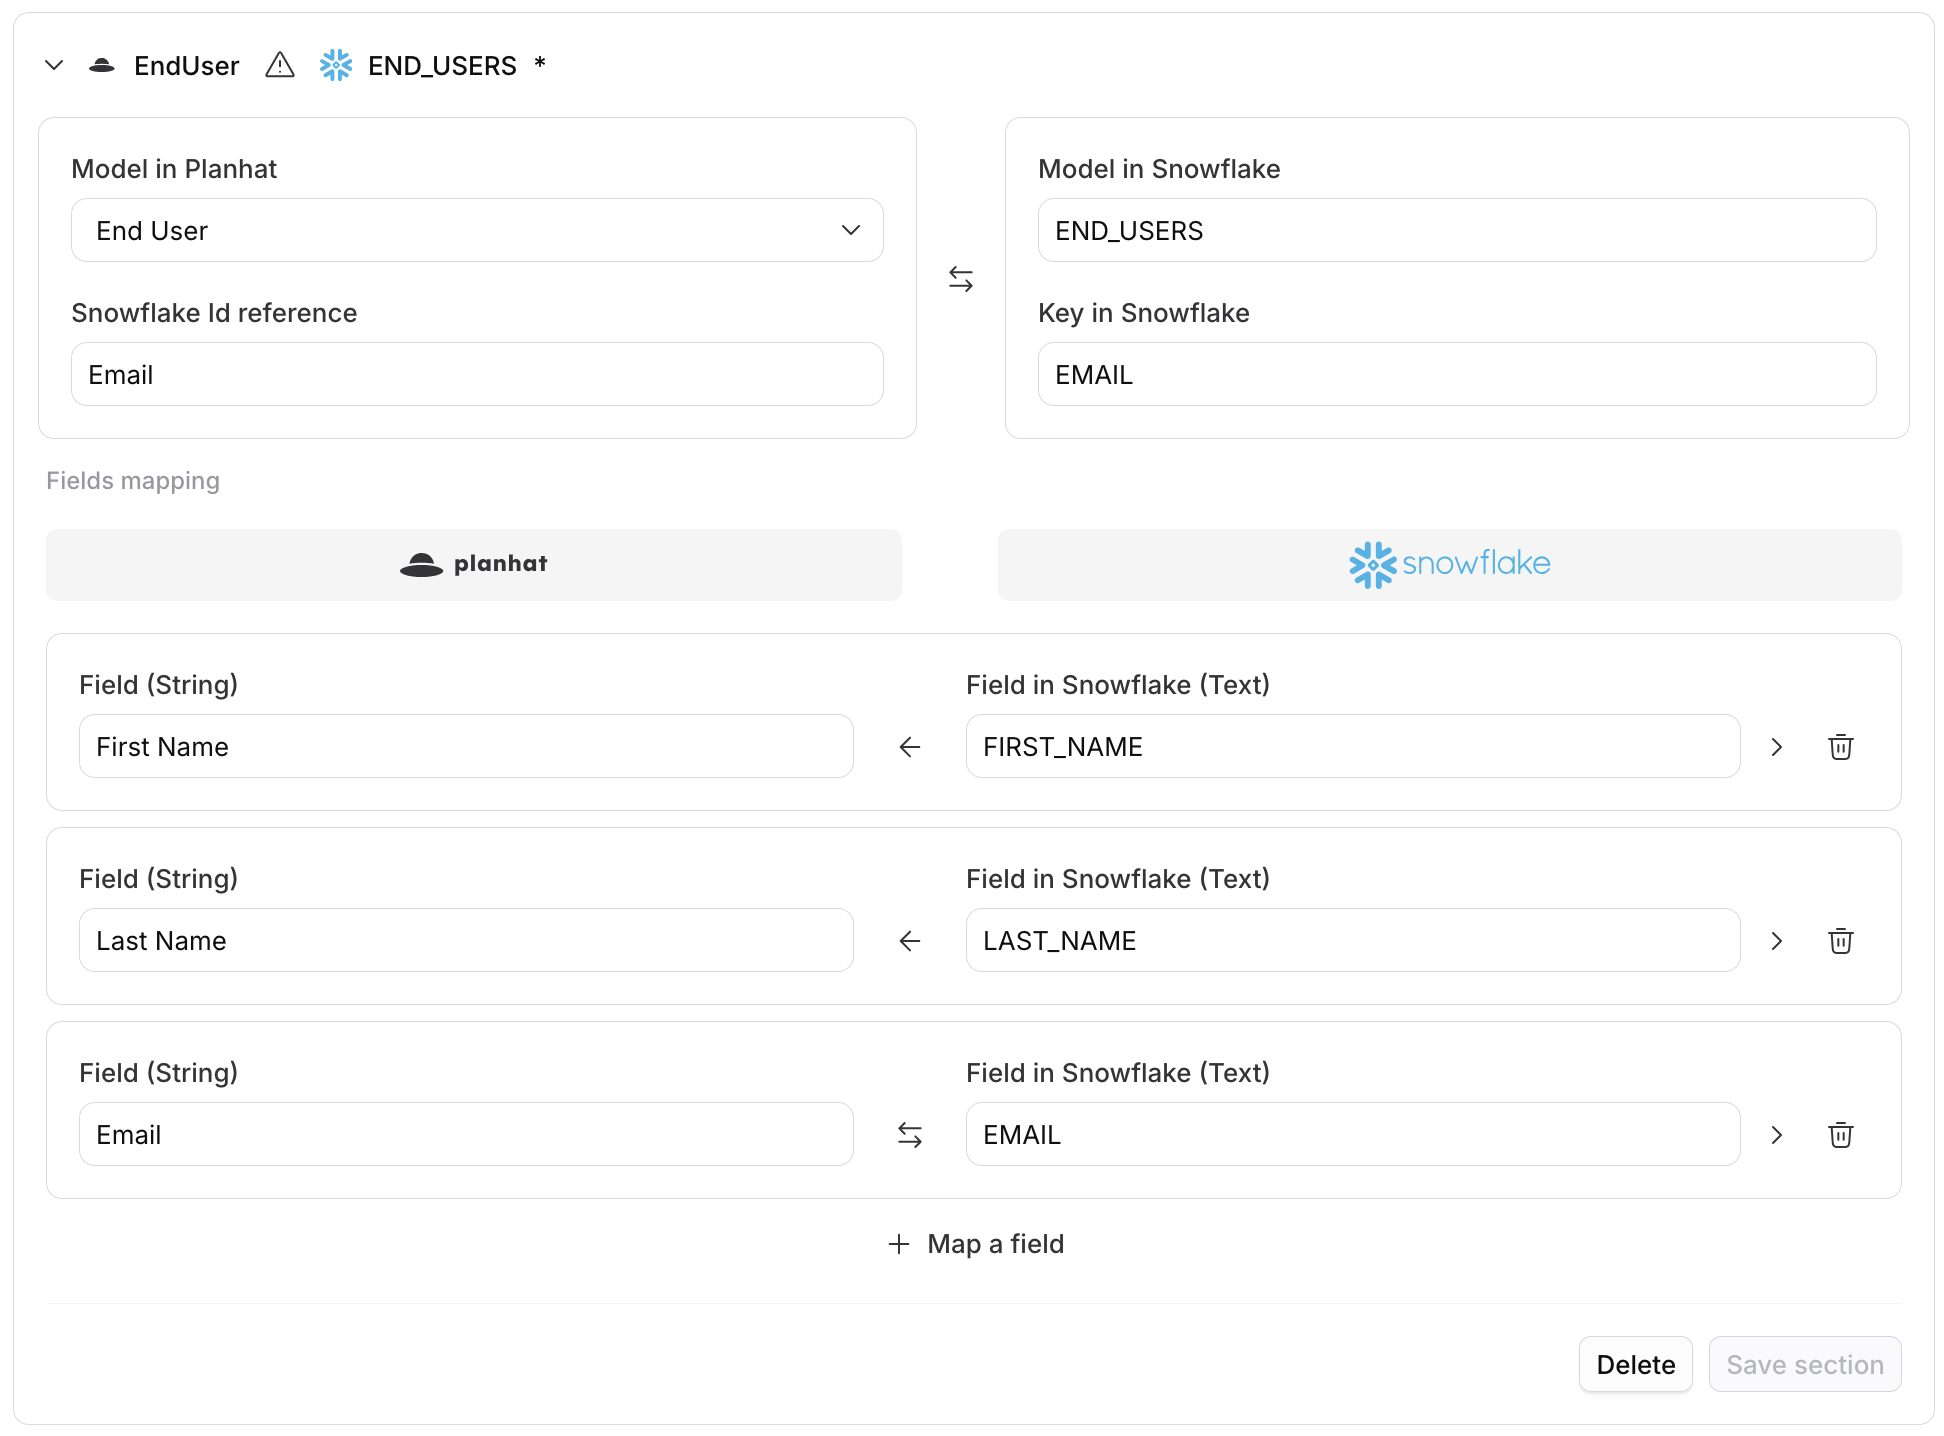
For each of the sync sections, you can set up field mapping: link up specific Planhat fields (standard or custom fields) with specific Snowflake columns. (Note that the integration does not create fields - it only syncs data between them - so you would need to create any required custom fields first before selecting them in the integration.)
The field mapping for a sync section will look something like this:
Click the image to view it enlarged
To set this up:
Click the "Map a Field" button to add a new field mapping row
Select a Planhat field from the left-hand dropdown menu
Selecting a field will automatically detect and display the field type
Choose the sync direction
The default is the same sync direction as the parent model/table/view
Select a Snowflake column from the right-hand dropdown menu
Selecting a field will automatically detect and display the field type
If you want to delete a field mapping row, click the trash icon on the right-hand side.
🚀 Tip
If you're looking to map semi-structured
VARIANTcolumns from Snowflake, consisting of multiple key-value pairs (such as JSON-formatted data) such as{"key1": "value1", "key2": "value2"}, there's one more step, explained here.
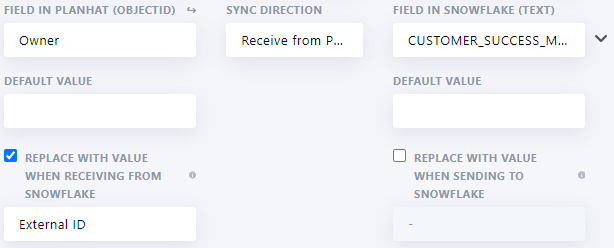
📌 Important to note
Mapping Company associations - converting between Company IDs
In Planhat, the Company model is at the top of the data structure. Other models (such as End Users) link to Company
Although in Planhat this link works via the Company Planhat ID, if you're using the Company Source ID or Company External ID in Snowflake instead, the integration can convert between the ID types for you
It's easy to configure in the integration which ID you want to use. You do this via the field mapping row for "Company Id" in each relevant sync section
For further details, see this in-depth article
🚀 Tip
When mapping the "Involved Contacts" field in the Conversation model, ensure that the mapped column in Snowflake is formatted as an array of external or source IDs, with each cell structured like:
["source_id_1", "source_id_2", ...].
Enabling the CRM data sync
When you're done creating (and saving!) all the sections you want, click the "Fetch data" button on top right side of the integration (just above the sync sections)
Make sure you have enabled "change_tracking" (on all the relevant tables/views) in Snowflake first (which you should have already completed as part of the setup here)
The full sync sets the baseline; in the full sync, the integration can detect that change tracking is enabled
Enable the toggle switch "Active background jobs for usage data", assuming you would like the integration to run the automatic, hourly, partial sync
If you don't want CRM data to sync automatically in this way, you can leave the toggle switch off. You can manually run full syncs via the "Fetch data" button and/or the arrow buttons on the right-hand side of sync sections
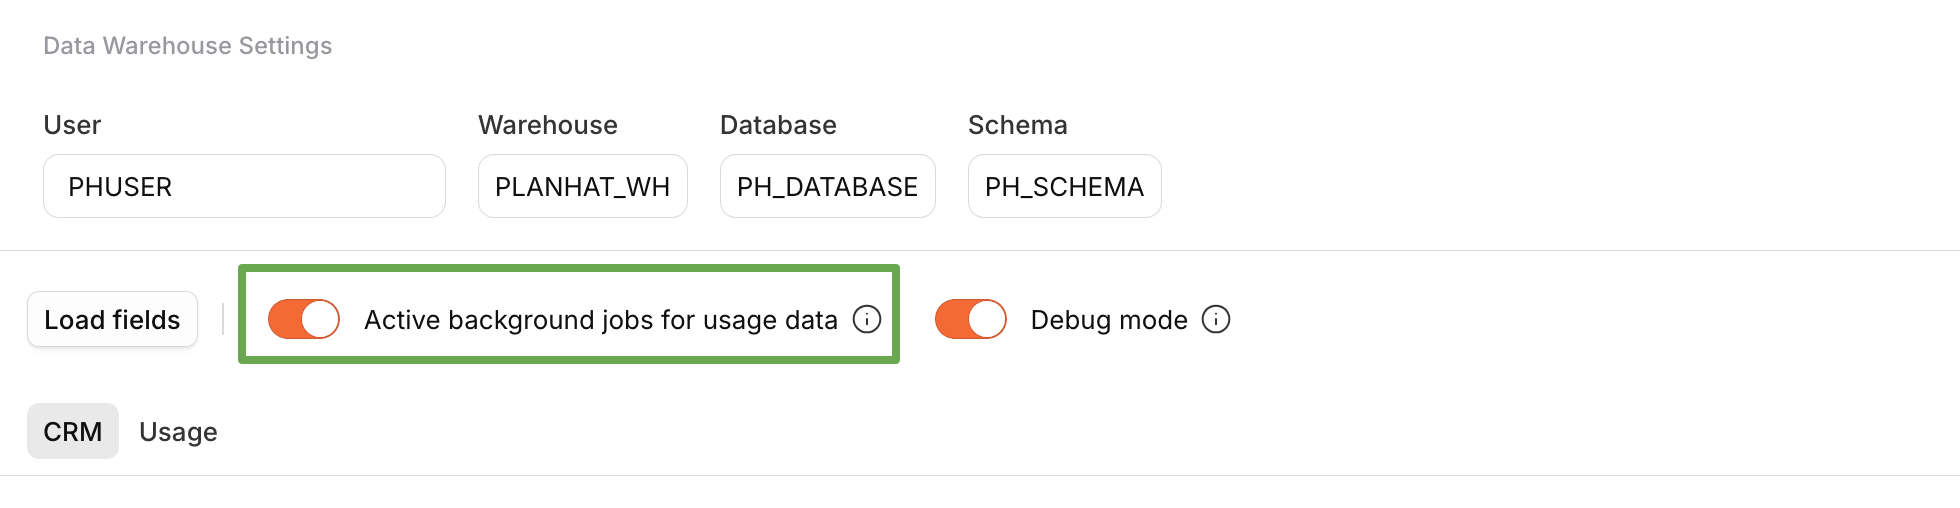
🚀 Tip
To confirm that your "Fetch data" successfully completed, click "Show Logs" at the top right of the integration. You should be able to see creations and updates with (roughly) the expected number of events. If you have any questions, you can reach out to your TAM or CSM for help.
📌 Important to note
If you use a data transformation tool that regularly rebuilds tables in Snowflake, the transaction tree necessary for change tracking will be broken on each table rebuild. If change tracking was initially enabled, our Snowflake integration detects this, and will run a full sync of your CRM data, after which the change tracking will resume.
2. Usage data in the Snowflake integration
The Snowflake integration also supports syncing of usage (time-series) data. This is always one-way: from Snowflake into Planhat.
🚀 Tip
There are two types of raw time-series data in Planhat:
"User Activities" are actions carried out by End Users, e.g. logging in
"Custom Metrics" are other numerical values you want to track over time, e.g. amount of storage used by a Company
Once this usage data has been imported into Planhat, you can easily use Calculated Metrics to convert and combine raw metrics into new, more complex metrics to show exactly what you want and need to know about your customer's usage of your products.
So, for example, you can send in unaggregated logins as a User Activity, and then within Planhat create Calculated Metrics to look at total number of logins in the last 14 days, or the average number of logins per week, and so on.
Before you start mapping usage data, ensure you have followed all the steps in our article on preparing Snowflake and connecting the integration. Make sure you have specified the user, warehouse, database and schema at the top of the integration. These need to be set before you can see the big blue "Add New Section" button and start mapping your data.
To set up the usage data configuration, make sure you have selected the "USAGE" tab in the integration:
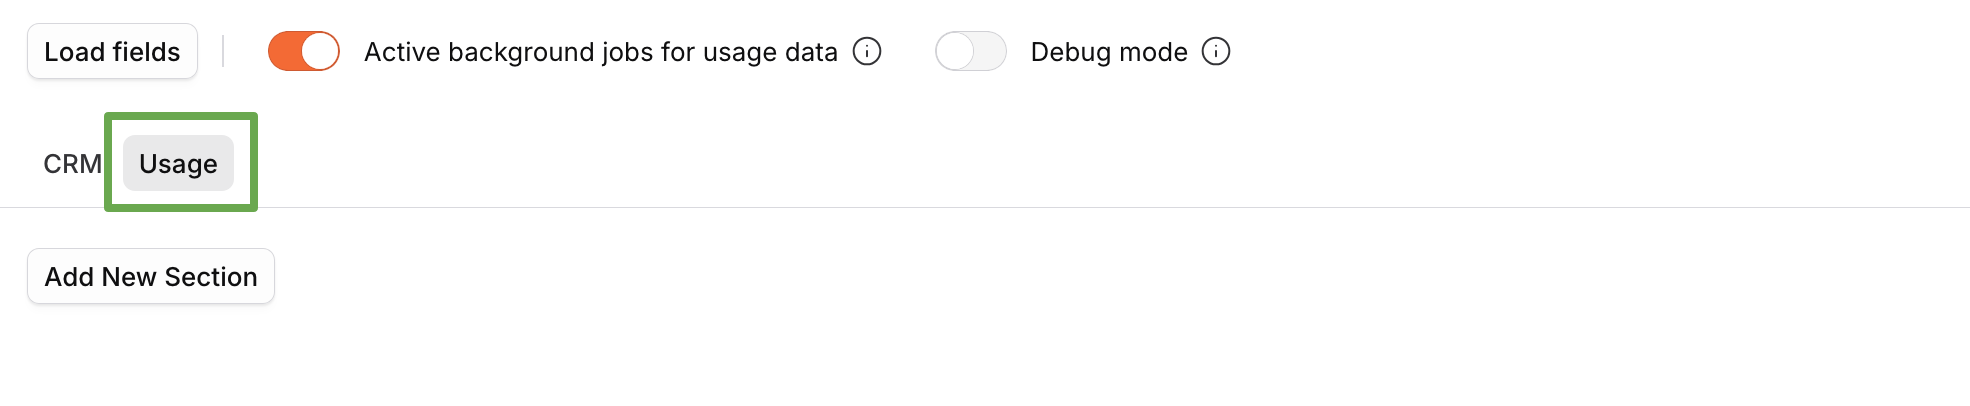
How to set up usage data mapping
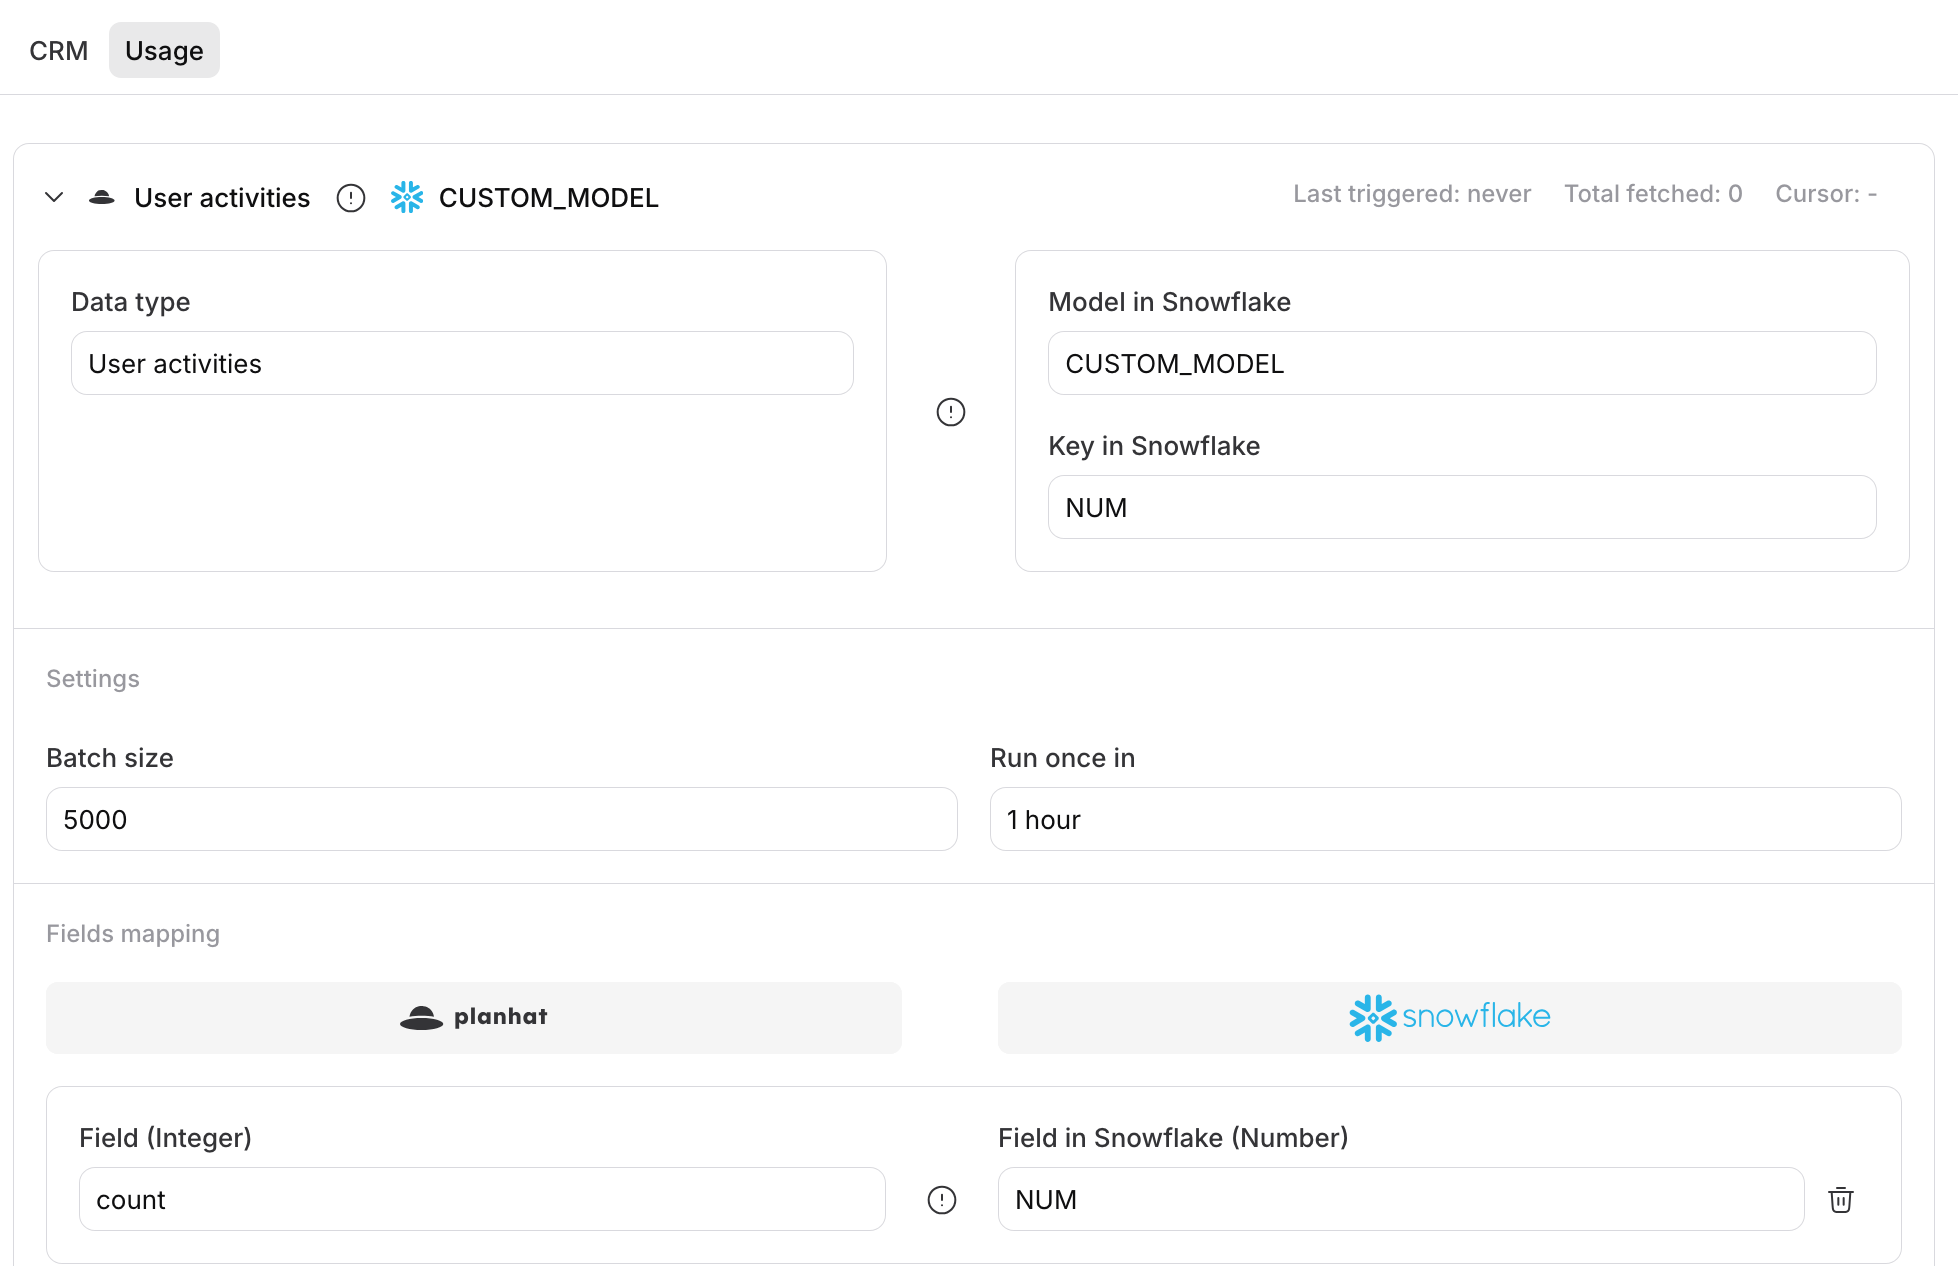
Simply click the blue "Add New Section" button to add a new sync section, and then follow the steps to complete the form.
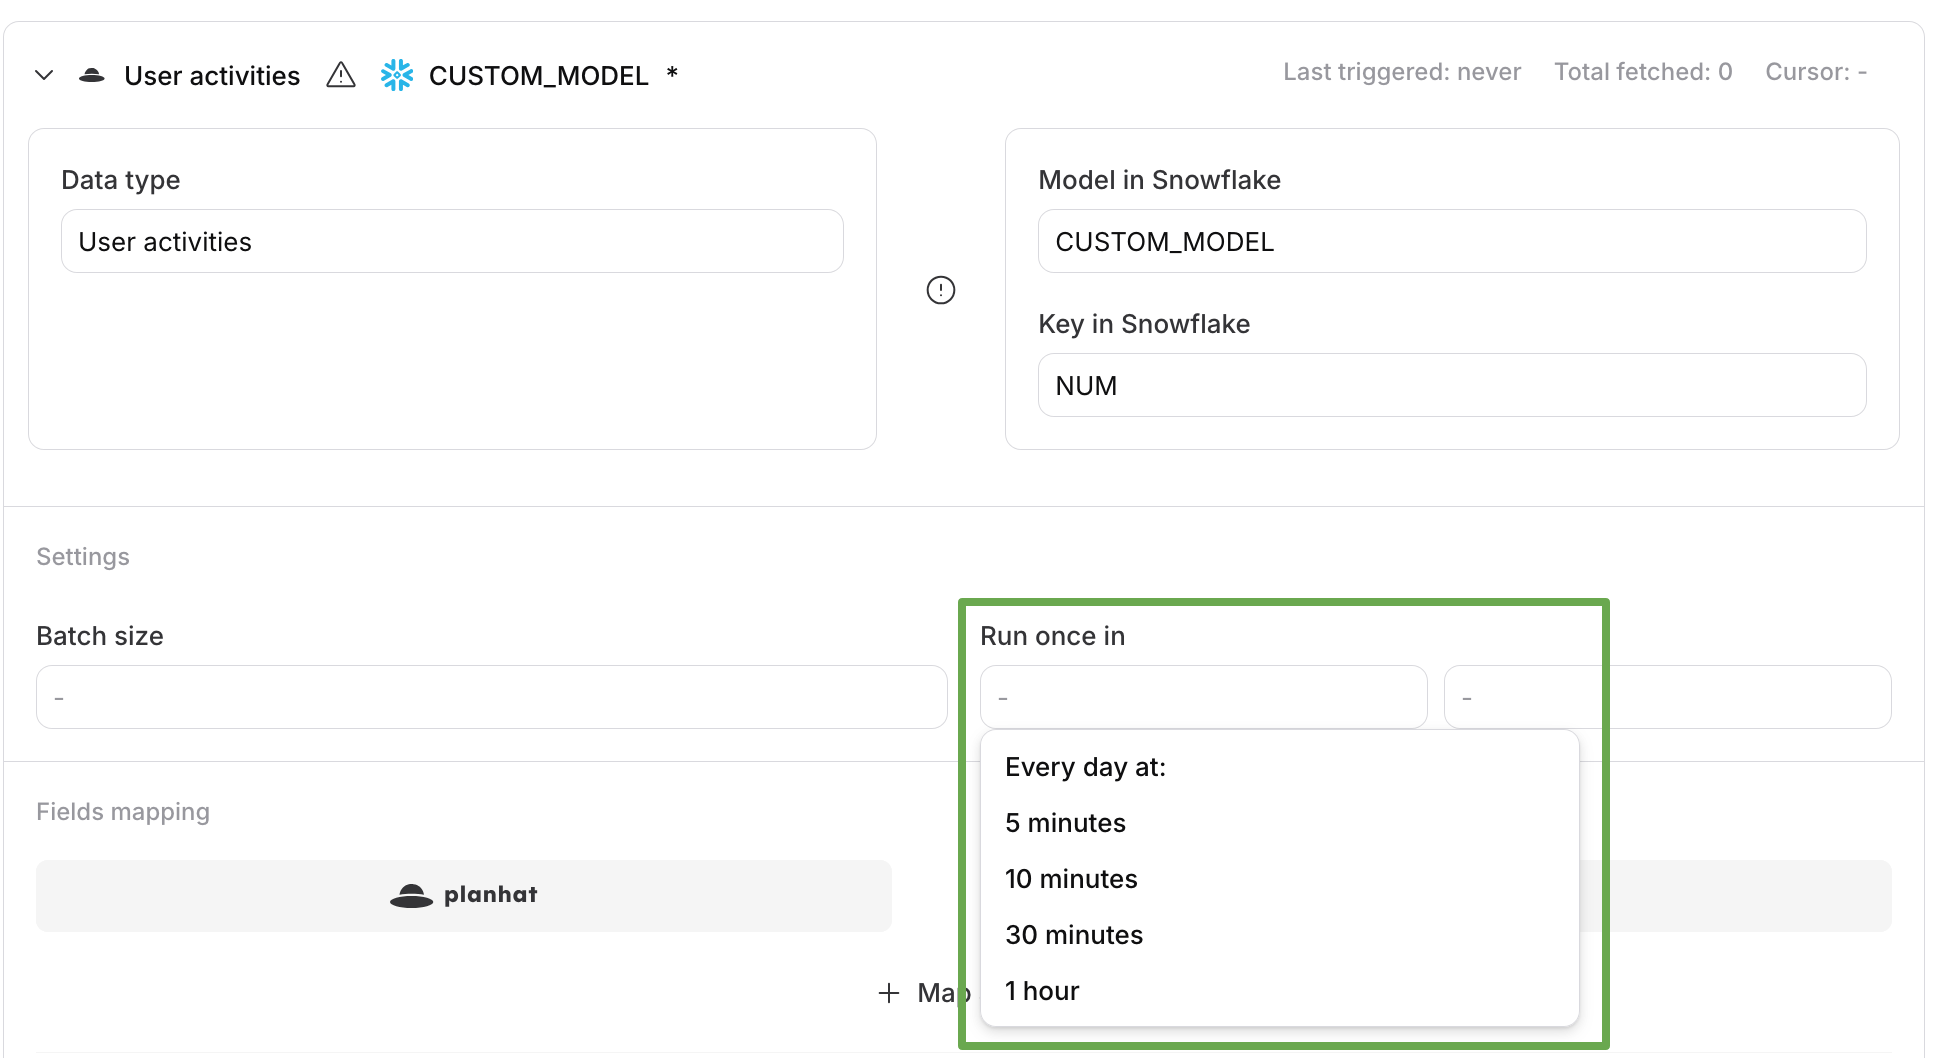
Here is an example showing what a completed (and saved) sync section can look like:
Next steps
For more information on field mapping of "Company Id" to use different ID types in Snowflake, see here
If you'd like to learn how to map "VARIANT" columns from Snowflake to Planhat, check out our guide here
If you'd like additional troubleshooting advice when setting up the Snowflake integration, view this article