How to share data records to a Portal
Choose which records from your Planhat app to display in Portals
Summary
Each Portal is made up of content: Sections and Pages
The data (records) within those Pages (e.g. the End Users, Objectives, Assets and so on) aren't automatically included when the content housing them is shared, for data security reasons
You choose which records to share to a Portal, and share them individually or in bulk
In this article, we take you through the different methods you can use to accomplish this
Who is this article for?
Planhat users creating Portals for Companies
For example, you could be a CSM creating Portals for your customers, or a Salesperson creating Portals for your prospects
Series
This article is part of a series on creating Portals:
How to share data records to a Portal ⬅️ You are here
Share Portals with your customers from within your own application
Article contents
Introduction
Due to the sensitive nature of customer/prospect data, we've deliberately built Portals with security at the forefront. Portals operate on an opt-in sharing strategy, and there are different aspects of access control you can configure. In this article, we are going to focus specifically on how to make selected data records available in a Portal.
Once you've created (generated / "spun up") a Portal for a Company, as described here, you need to choose which records to share to it (i.e. import into it / display in it), for that data to be visible to the External and Internal Users of your Portal.
There are two ways you can share records to Portals. We recommend sharing records directly in the Portal - the first method described below.
📌 Definitions
In Planhat, data is organized in "models" (similar to the "objects" you may be familiar with from other tools) - e.g. Company, End User, Conversation, Workflow, Task and so on.
Individual instances of data within these models are called "records" - e.g. for the End User model, "Kerry Jones" and "Melvin Brown" could be records.
📌 Important to note
Sharing records to Portals, as discussed in this article, is separate from sharing files/attachments (e.g. contract PDFs) to Portals, which we go through in a separate article, here.
🚀 Tip
Each Portal belongs to one specific Company (i.e. one organization that's a customer or prospect). You will only ever see (be able to import) data related to that Company in its Portal - e.g. you can display data on its End Users and Tasks in its Portal, but not End Users or Tasks associated with other Companies.
Sharing records from within a Portal
This is a suitable method for when you have some content in a Portal (at least one Section and one Page), and now you want to populate it with data records. There are various Page types, which you can read about generally here.
To display your choice of records in a Page in a Portal:
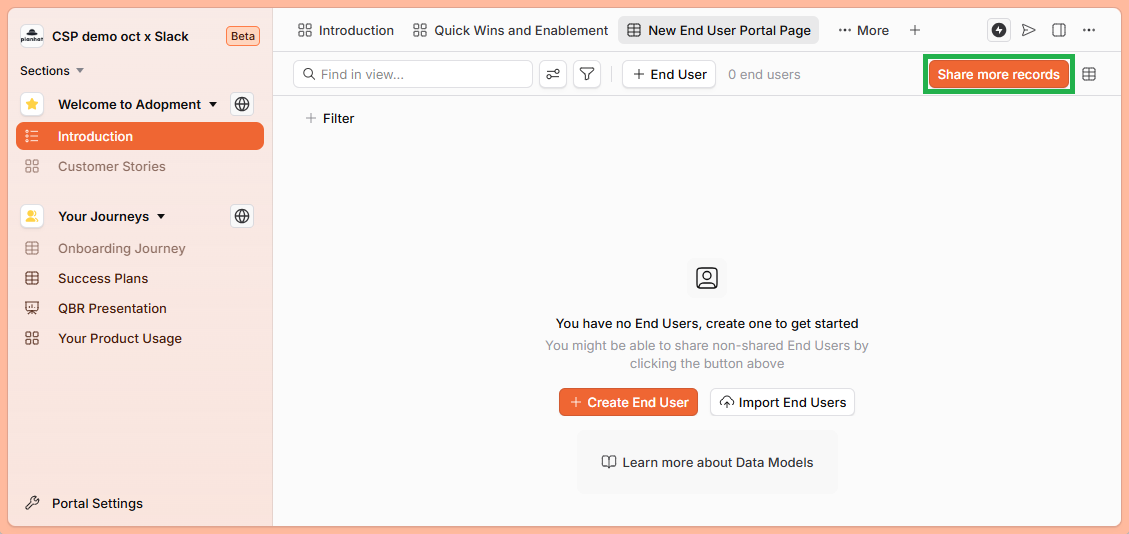
Sharing records from outside a Portal
It's also possible to import records into a Portal (i.e. display them in the Portal) from the main Planhat app. To do this:
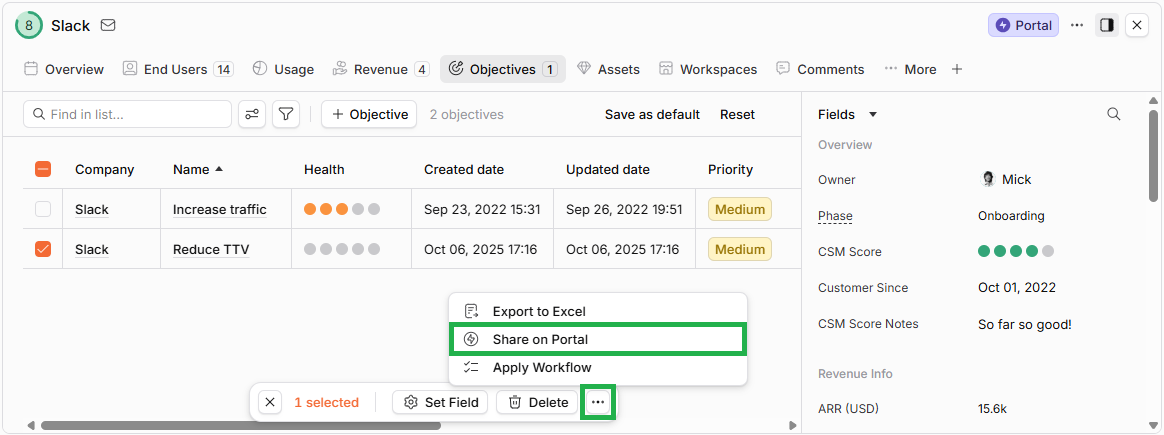
📌 Important to note
If you are sharing a Workflow, you'll need to share both the Workflow itself and its component Tasks.
Sharing additional records
As time goes on, more records may be created in your Planhat tenant, and these are not automatically shared to the Portal. This can create a discrepancy between the internal view (i.e. what you and your colleagues can see in your Planhat tenant) and the End User view (what your customers/prospects can see in their Portal).
To address this, you can share more records at any time, using either of the methods we described above. It's easiest to use the first method of being in the Portal Page and selecting records there, as clicking the button will identify for you which records are yet to be shared (as shown below).
Simply go to the Portal; click "Share more records" in the top right; and then within the modal, select which records to additionally share.
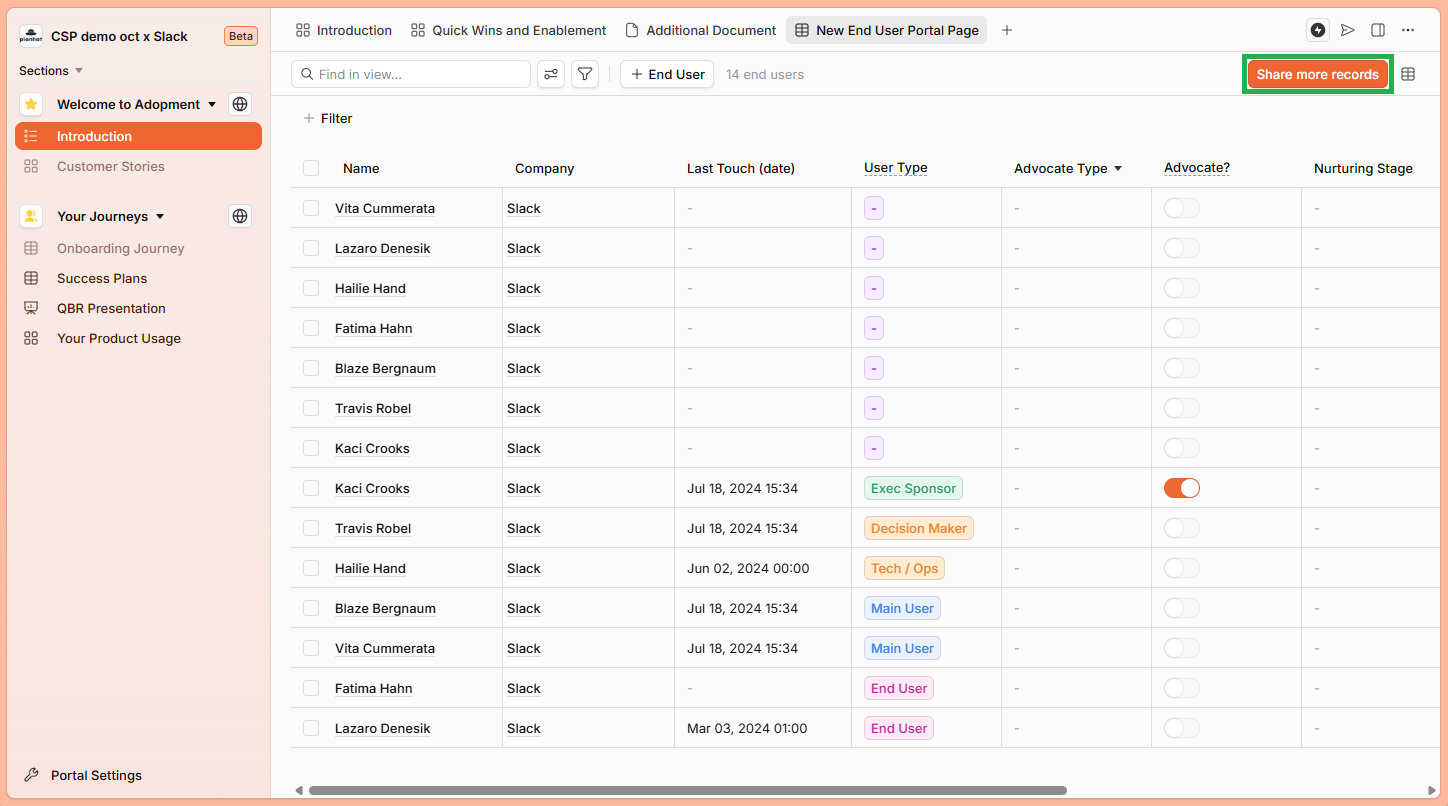
Click the image to view it enlarged
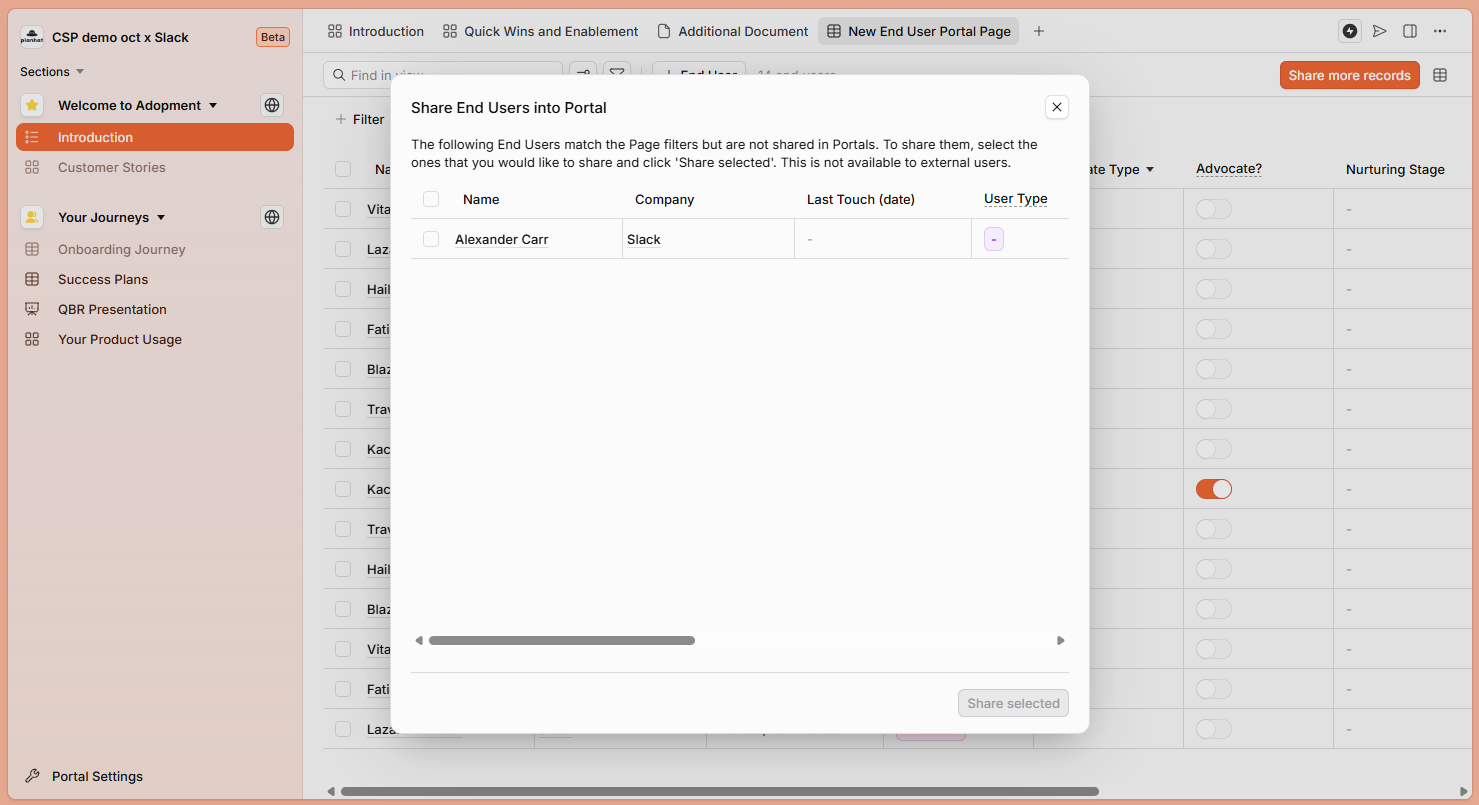
Click the image to view it enlarged
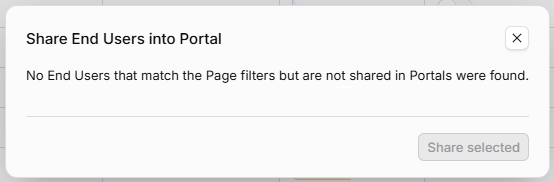
If you click the button to share more records but you have already shared all the relevant records, you will see a message informing you of this - e.g.:
Next steps
Once you have finished setting up your Portal, you can add External Users and Internal Users. In the next article in the series, we show you how to do this, as well as manage existing Users.